D-Link DCS-5020L Vuln Assessment Pt. 1
In the beginning
Have you ever wanted to be like the super l33t hax0rs that you see in the movies? Sitting in a dark room pounding away randomly on a keyboard with the only light coming from the screen in front of you? The silence only broken by you saying, “I’m in.”? Then this is the blog for you. It will take you through the initial firmware analysis, to finding vulnerabilities (if there are any), what to do when you find one, and writing that juicy proof of concept to impress your friends. We might even throw in a few failures along the way because not every device you look at will be a win. This first series will go over some topics in a little more depth, but in the future they will probably be skimmed over.
Finding a Vulnerability?
Finding a vulnerability in an IOT firmware is more of an art than a science. Most of the time it feels like running your head a against a brick wall and coming back for more until the wall breaks or you break. Hence, persistence is a good quality to have when looking for vulnerabilities. Normally this is a very tedious and time consuming processes, but luckily TNS has a subscription to a pretty sweet tool that makes everything a little bit simpler. The tool in question is the Centrifuge Platform provided by Refirm Labs. Shamelessly pulled directly from the website, Centrifuge allows for vetting, validating, and monitoring firmware security. I use it to break security and it does a really good job of helping me with that.
Step 1 of….there are a lot of steps
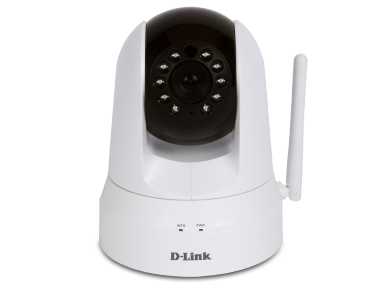
First step is to select the target because you can’t look at firmware from a device if you don’t have a device. The device in question for this post is the D-Link DCS-5020L, a pan and tilt day/night network camera.

D-Link is pretty good about providing different versions of the firmware, and if your Google powers are strong you can find all versions of the firmware for most of their devices. I will normally search for the most recent version of the firmware so if I find a vulnerability it has the best chance of being a 0-day. For this camera, the most recent version of the firmware is version 1.15.12 released July 25, 2018. A quick 7.3MB download later and we are well on our way to running our head into the proverbial brick wall mentioned earlier.
Centrifuge Submission
We have a downloaded ZIP file of unknown contents that is supposedly a firmware. Now what? My next step is to submit the downloaded firmware to Centrifuge for analysis. This process, depending on the size and nature of the firmware, usually takes about 30 minutes at which point I am greeted with a page full of analysis.

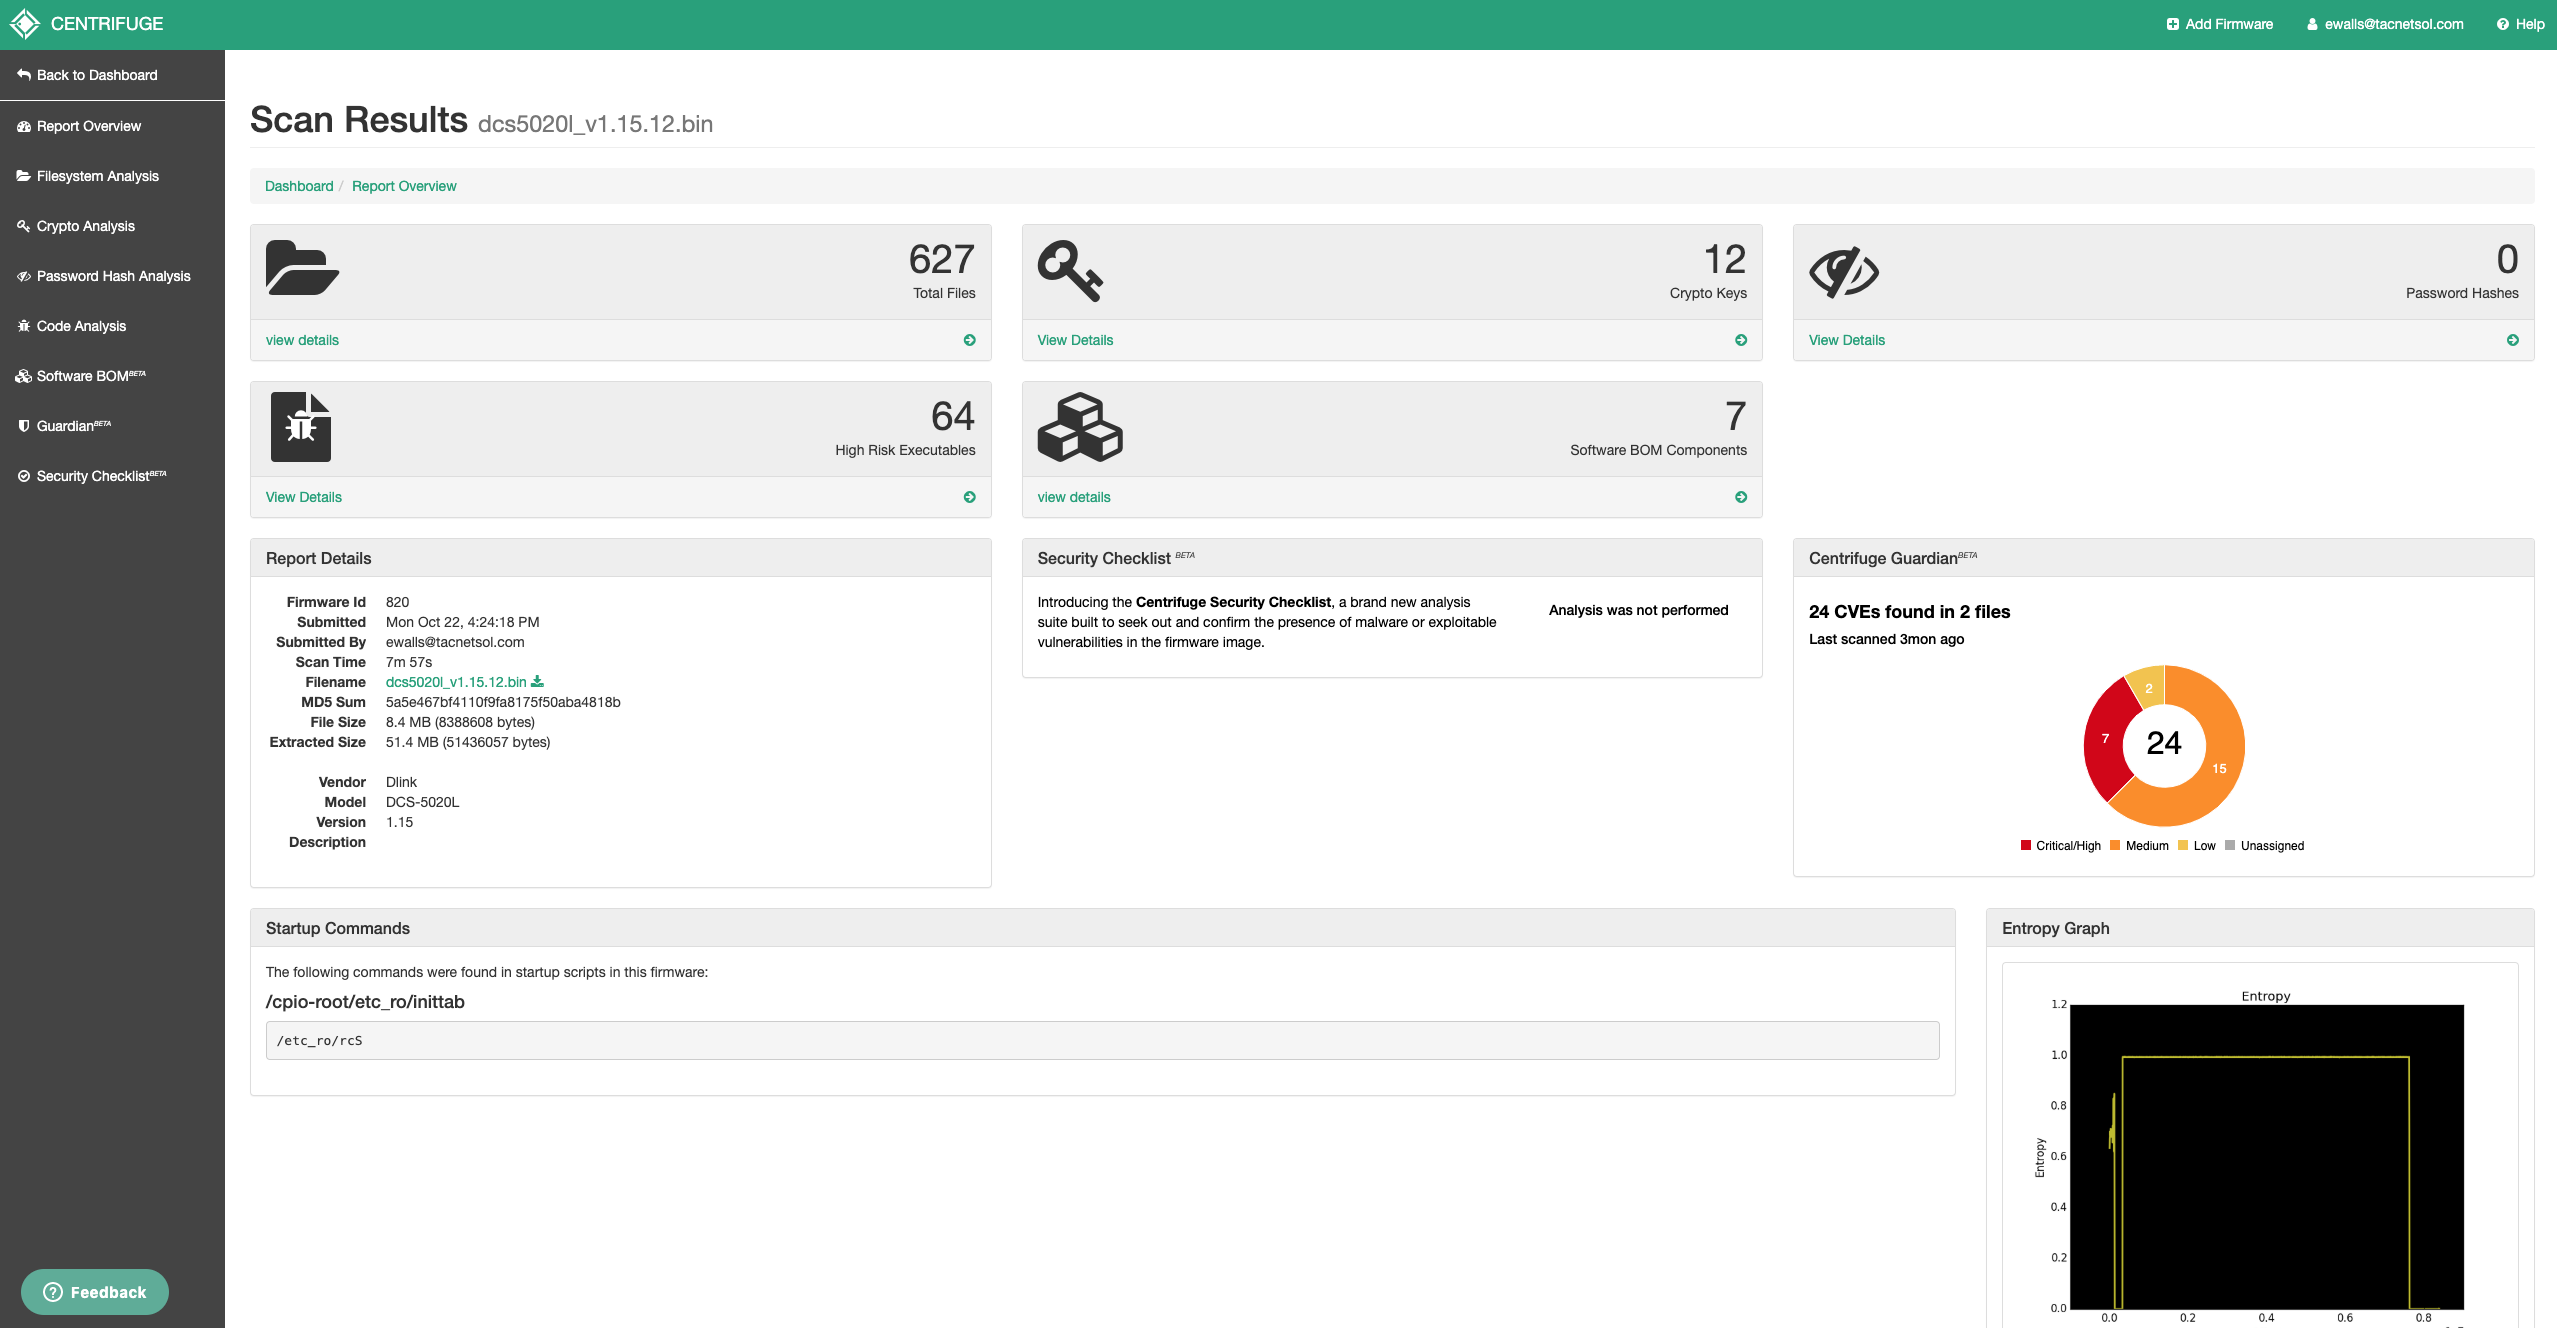
From here I have a lot of options for starting my analysis. Starting with the top left box with a folder, I can view the contents of the unpacked firmware in a nice tree view to see what binaries come with it, does it have config files, what server does it use for administration, etc. The platform updates the view as analysis completes so I’ll normally peruse through the tree view to see what the firmware holds while the rest of the analysis completes. The next box, with the key, displays all public and private crypto keys that are discovered baked into the firmware. This is useful for seeing if the manufacture left a private key in there that they should not have. If any password hashes are found in the firmware, /etc/shadow or /etc/passwd, they will be displayed in the top right box. Bottom left is my favorite view, the code analysis section, which I will get into soon. Next is the software bill of materials which identifies software components present in the firmware such as busybox or openssl. A nice general purpose here’s what I found. The Security Checklistbeta, mind the beta tag, performs a little proprietary analysis to let you know if it found know vulnerabilities in the firmware you uploaded. Things like backdoor checks, UPnP command injection vulnerabilities, Mirai botnet, among other checks are performed on the firmware and reported. These security checks are constantly being updated and added to identify more problems. Centfrifuge Guardianbeta, mind the beta tag again, piggy backs off the bill of materials to identify current CVEs against software that is present in the firmware. Oh this firmware has libcurl 7.29.0 and their’s an open CVE for it? Well, luckily for us Centrifuge tells exactly which file is affected and provides recommendations for remediation. There are a few other other boxes that give us useful metadata about the firmware, but thats the bulk of it. On to the code analysis!
Code Analysis
Code Analysis is the portion of Centrifuge where I spend most of my time because it is directly applicable to finding vulnerabilities within the code. To populate this information Centrifuge identifies all potentially vulnerable calls within the binaries present in the firmware. A potentially vulnerable call, for example, could be an sprintf call with a destination buffer on the stack or a strcpy directly to the stack. Even though the function is listed in this view doesn’t automatically make it an exploit, you still need to view the call in full context to see if it’s exploitable.

Centrifuge will even try to emulate the functionality of the binaries to see if the parameters are user controllable. These function calls are listed as Critical and should be looked at a little more closely. Clicking on the individual binaries will provide specific information and is where all the (potential) vulnerabilities are displayed. Information such as the offset of the call, type of flaw, function call, and named offset are displayed in this view.

Conclusion
You don’t need Centrifuge to perform vulnerability analysis, you just may end up looking at 100 sprintf calls where I only need to look at 10. That’s the convenience and time saving power that Centrifuge provides. Next time we get a lot more technical and dive into finding out which, if any, of the “flaws” listed in Centrifuge are, in fact, flaws.